
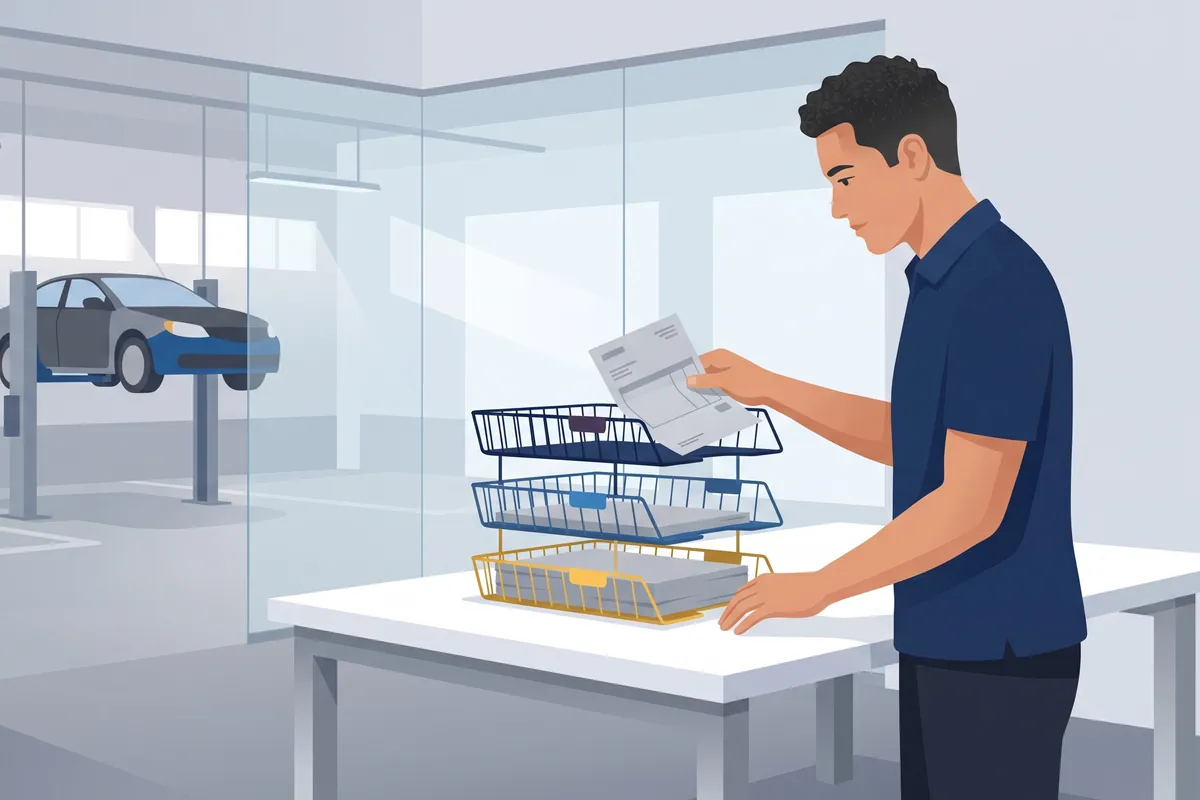

The accounts payable process in a lot of repair shops is a stack of yellow invoices under a coffee mug next to the parts counter. (The mug is load-bearing. Move it and you’ll find out.) Once a month the statement shows up, somebody pulls out the stack, and the shop discovers which invoices the mug didn’t hold onto.
Formally, the accounts payable process is how a business gets from “we got a bill” to “we paid the right amount, once, and recorded it.” Capture the invoice, verify it, approve it, pay it, book it. That’s the whole job.
In a repair shop it’s harder than that, because the bill is for a water pump an advisor ordered by phone at 10:14 a.m. for a car that might not get fixed. Full disclosure: I run WickedFile, and the part of AP we work on is matching every parts invoice and credit memo to a repair order before the statement arrives. I’ll lay out the whole process by hand first, because the process matters more than any tool.
The textbook accounts payable process steps
Every generic AP guide gives you roughly the same eight steps:
- Purchase requisition. Someone asks to buy something.
- Purchase order. Purchasing approves it and sends a PO.
- Receiving. The goods arrive and someone records what came in.
- Invoice receipt. The vendor’s bill arrives.
- Verification and three-way match. Compare invoice, PO, and receiving report.
- Approval. Someone with authority signs off.
- Payment. Check, ACH, card.
- Recording. Post it to the general ledger.
Step 5 is the heart of it. AccountingTools defines three-way matching as comparing the supplier invoice, the purchase order, and the receiving report so that only authorized purchases get paid. If something doesn’t match, the vendor fixes it, sometimes with a revised invoice and sometimes with a credit memo.
That works beautifully in a company with a purchasing department. You don’t have one. You have an advisor on hold with three parts stores at once.
Why the textbook AP process doesn’t fit a repair shop
Here’s how the eight steps actually happen at the counter:
| Textbook step | What it looks like in a shop |
|---|---|
| Requisition | A tech yells across the bay that the pump is seized |
| Purchase order | The advisor calls the vendor. The PO is the RO number, if anyone remembers to give it |
| Receiving | The driver hands over a box and an invoice. Someone signs it, sometimes |
| Invoice receipt | The invoice comes in the box, by email, in a portal, or not at all |
| Three-way match | Invoice vs RO: was this part sold on the job, at the right cost? |
| Approval | The owner, eventually, at month end |
| Payment | One payment against the monthly statement |
| Recording | Bills and vendor credits in QuickBooks |
Two things are missing from the textbook entirely. Returns and cores. Plenty of parts that come through your door go back out again: wrong part, declined job, core return. Every one of those should produce a credit memo, and generic AP steps have no slot for tracking a credit you’re owed. (Our credit memo guide covers that piece in detail.)
And the volume is different. The 2026 Ratchet+Wrench Industry Survey found 47% of shops use five or more regular parts vendors each month. Five vendors, multiple deliveries a day, returns going back on the same trucks. That isn’t an AP department’s workload. That’s a bookkeeper’s whole week.
The repair shop accounts payable workflow, in 7 steps
This is the version I’d hand a new bookkeeper on day one.
1. Order with the RO number as the PO number
Every part bought for a job carries the repair order number as its PO. Stock orders and shop supplies get their own simple codes. This one habit makes every later step possible, because it ties the vendor’s paperwork to your job.
2. Capture the invoice the same day
Scan, upload, or forward every invoice the day it arrives. Not at month end. A missing invoice found the same day is a phone call. Found three weeks later on a statement, it’s a research project.
3. Match the invoice to the repair order
This is your three-way match. Did the part on the invoice get sold on the RO? Is the cost what the advisor quoted? If the part was bought but not sold, it’s either going back, going on the shelf, or leaking.
4. Log returns and cores as expected credits
When a part goes back, write down what credit you expect, core included, before the truck leaves. A return isn’t finished until the credit memo arrives.
5. Enter and code the bill
Enter the invoice in QuickBooks or your accounting system against the right vendor and the right account. Enter credit memos as vendor credits. Check for duplicates first.
6. Reconcile the statement against what you already have
When the statement arrives, every line should already be sitting in your files. You’re looking for three things: invoices on the statement you’ve never seen, credits you have that the statement doesn’t show, and returns with no credit at all. Our vendor statement reconciliation guide covers this step line by line.
7. Pay, take the discount, and record it
Pay the reconciled amount, short any credits the vendor hasn’t applied (with the memo attached), and take any early-payment discount your terms allow. Then post the payment.
If your AP process starts when the statement arrives, you’re already behind
The statement is supposed to be the final check. In a lot of shops it’s the first time anyone looks.
That’s backwards, and it costs real money. By the time the statement shows a mystery invoice, the advisor who ordered the part has forgotten the job. The part may already be on the return shelf with no credit attached. Every question that would have taken two minutes on the 3rd takes twenty on the 30th.
It also costs you discounts. Some parts vendors offer a discount for paying by a set day, and AccountingTools works out that standard 2/10 net 30 terms amount to a cost of credit of about 36.7% a year when you skip the discount. Here’s an illustrative version for a shop:
- Monthly parts spend with one vendor: $40,000
- Discount if paid on time: 2%
- Discount missed because the statement wasn’t reconciled in time: $800 a month
- Over a year: $9,600
Your terms may differ, so check them. But if a month-end scramble regularly pushes your payment past the discount date, that scramble has a price tag.
I’ll tell you about one owner who went the other direction. He was convinced paying by statement was a bad idea, so he paid every invoice individually the moment it arrived. He thought that was discipline. In practice, it chopped his cash flow into dozens of small payments, it cost him early-payment opportunities with his vendors, and it made the statement nearly impossible to reconcile, because every line now had to be matched to its own little payment. Once he treated the statement as the final verification instead of something to avoid, his AP got dramatically simpler.
The fix wasn’t paying sooner or later. It was doing the matching all month, so the statement was just a confirmation.
Accounts payable procedures that keep the process honest
A process is the steps. Procedures are the rules that stop the steps from being skipped. A small shop needs five:
- The person who orders isn’t the person who pays. In a one-owner shop that might mean the owner signs checks and the bookkeeper enters bills. Anything is better than one person doing all of it.
- Check for duplicates before entry. AccountingTools calls duplicate payments the largest problem in payables data entry. The classic cause: the same invoice entered once as 0000078234 and once as 78234.
- One rule for keying invoice numbers. Pick a format. Write it on a sticky note. Enforce it.
- An approval threshold. Anything over a set amount, or from a vendor you don’t normally use, gets a second set of eyes.
- Verify vendor bank changes by phone. Use a number you already have, not the one in the email asking for the change.
None of these require software. They require deciding, once, and then sticking to it. If you run several locations, the same rules apply, just with more people who have to follow them; our multi-location back office guide covers how groups centralize it.
The statement should be a five-minute check, and you can prove it on one vendor
Everything above works on paper. The weak spot is steps 3, 4, and 6: matching invoices to ROs, tracking credits, and tying the statement out. Those are the steps that slip when the shop gets busy, and they’re the ones WickedFile is built around.
Here’s the mechanism:
- It reads the documents. Vendor invoices, credit memos, and statements, uploaded or scanned, plus repair orders from your shop management system.
- It matches them all month. Each parts invoice gets tied to an RO through the PO number. Parts bought but not sold, untraceable PO numbers, and returns still waiting on credit show up as exceptions.
- It checks the statement. Statement lines with no invoice behind them, credits missing from the statement, and uncredited cores get flagged before you pay.
- It checks the money. It connects to QuickBooks Online and to bank and card feeds through Plaid, so COD and card purchases with no invoice don’t slip through.
How to spend the free trial (500 scanned pages, no credit card): pick your two biggest parts vendors and upload last month’s statements plus every invoice and credit memo behind them. You’ll see, on your own paperwork, how many lines didn’t tie and how long it would have taken to find them by hand.
And the honest limits:
- It’s not a shop management system. Your advisors don’t change how they order parts.
- It’s not a payment processor or bill pay tool. It tells you what to question before you pay. You still pay vendors the way you do now.
- It doesn’t replace QuickBooks or your bookkeeper. It checks the paperwork behind the entries they make.
After the trial, the Grow plan is $299 a month, flat. If you run two vendors and a tight spreadsheet, the process above may be all you need, and that’s a fine answer. If you want to see where AP automation tools fit in general, our explainer on what AP automation software does is a good next read.
Try the invoice-first process on your own statements →
The short version
The accounts payable process is capture, verify, approve, pay, record. In a repair shop, add two things the textbook forgets: match every invoice to a repair order, and track every return until its credit shows up. Do that all month, and the statement stops being a scramble.
For what happens after the statement, see QuickBooks best practices for repair shops and the month-end close checklist.
Now go lift the coffee mug. Whatever’s under it is your first step.